Kitchen Interior

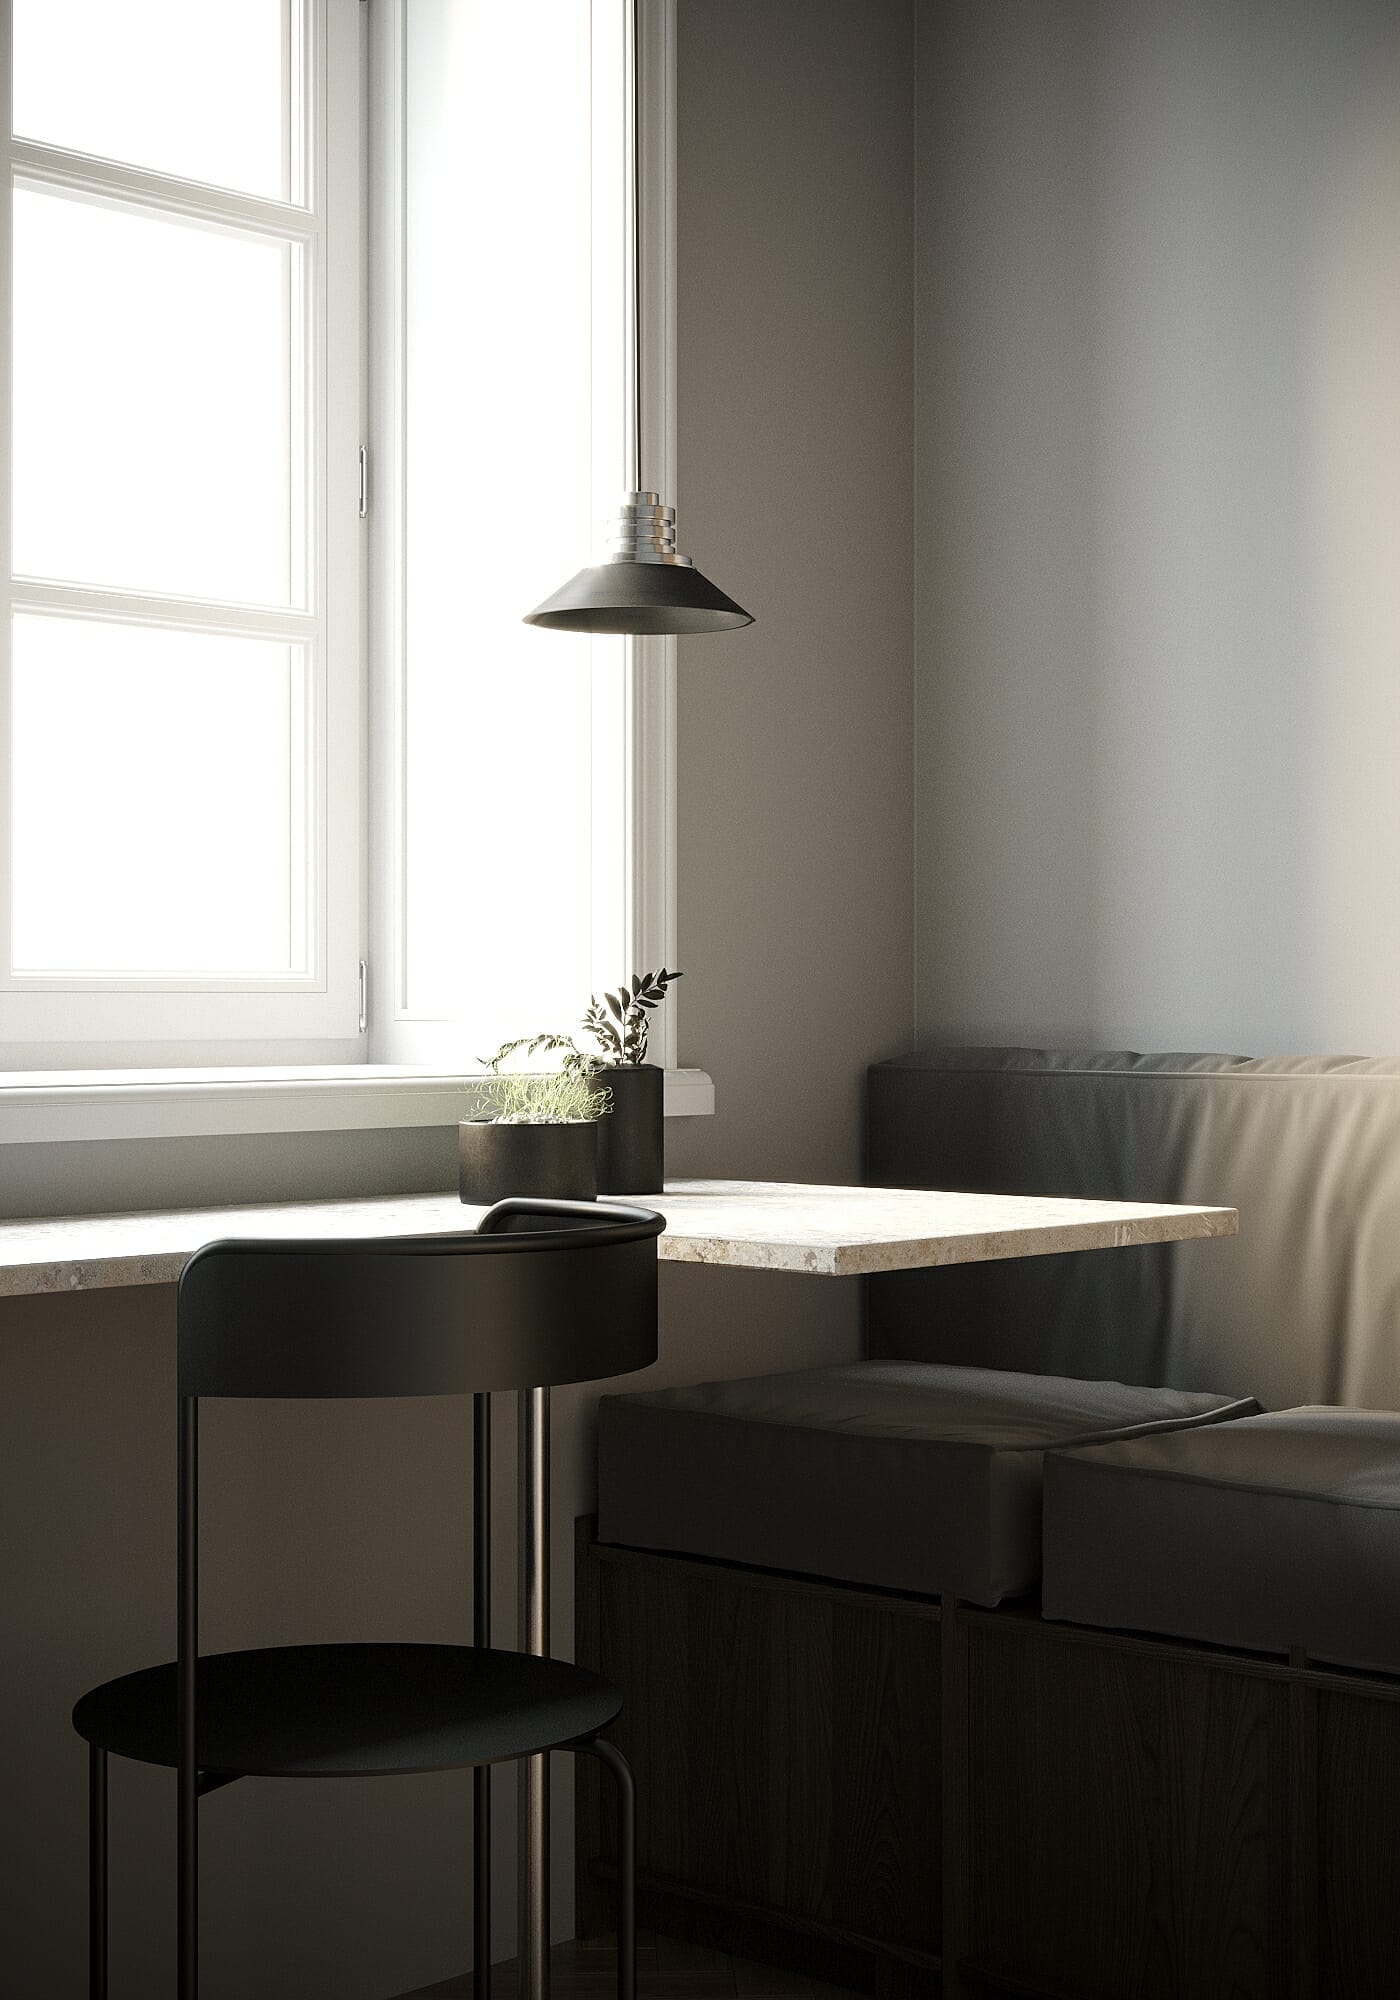
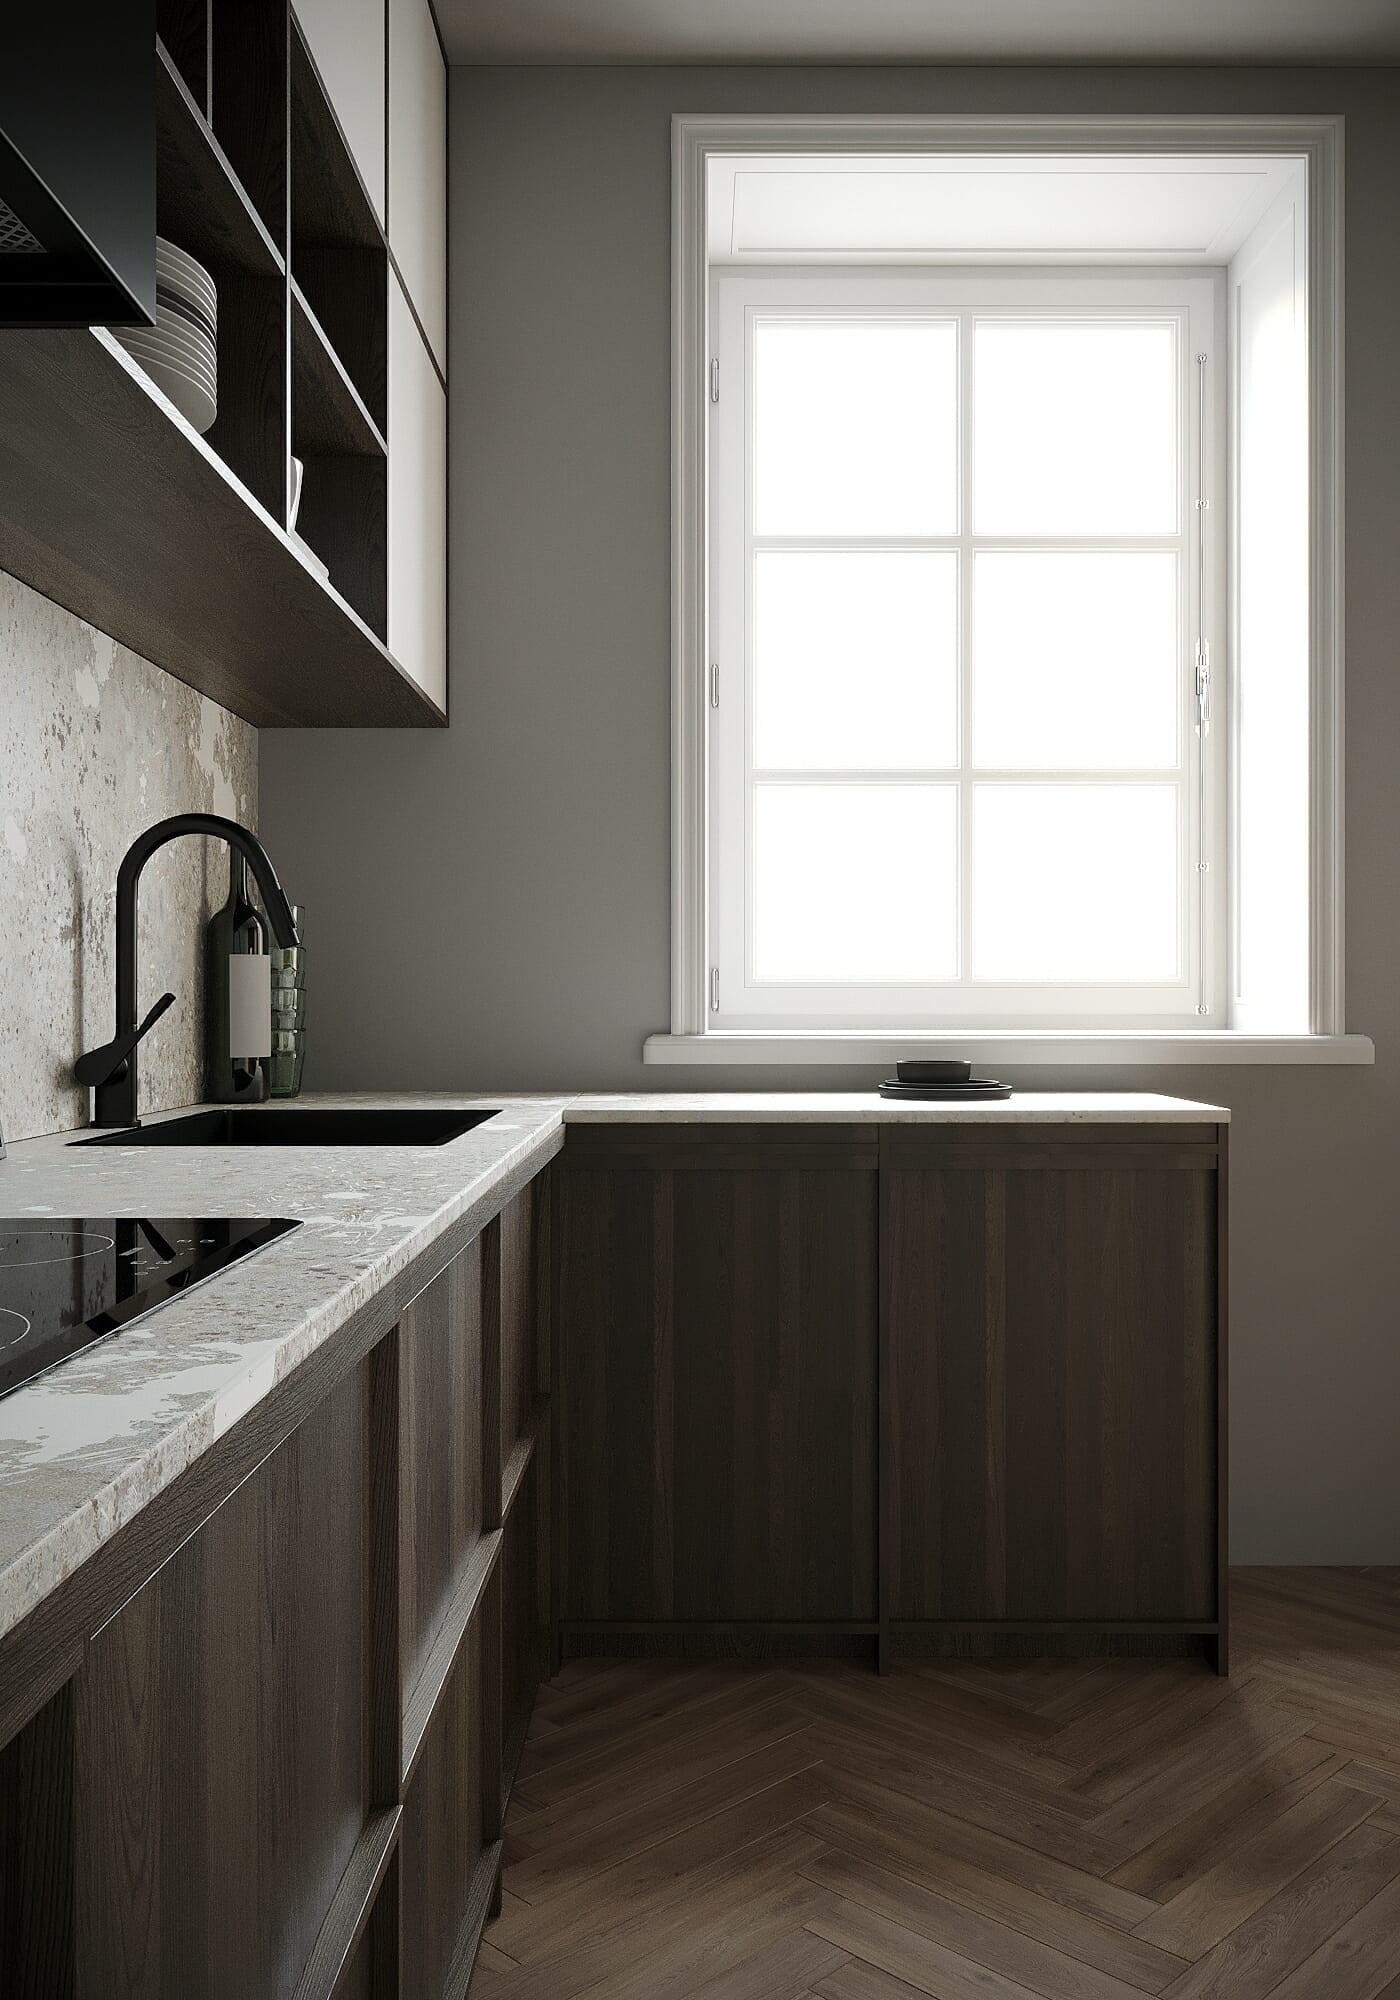
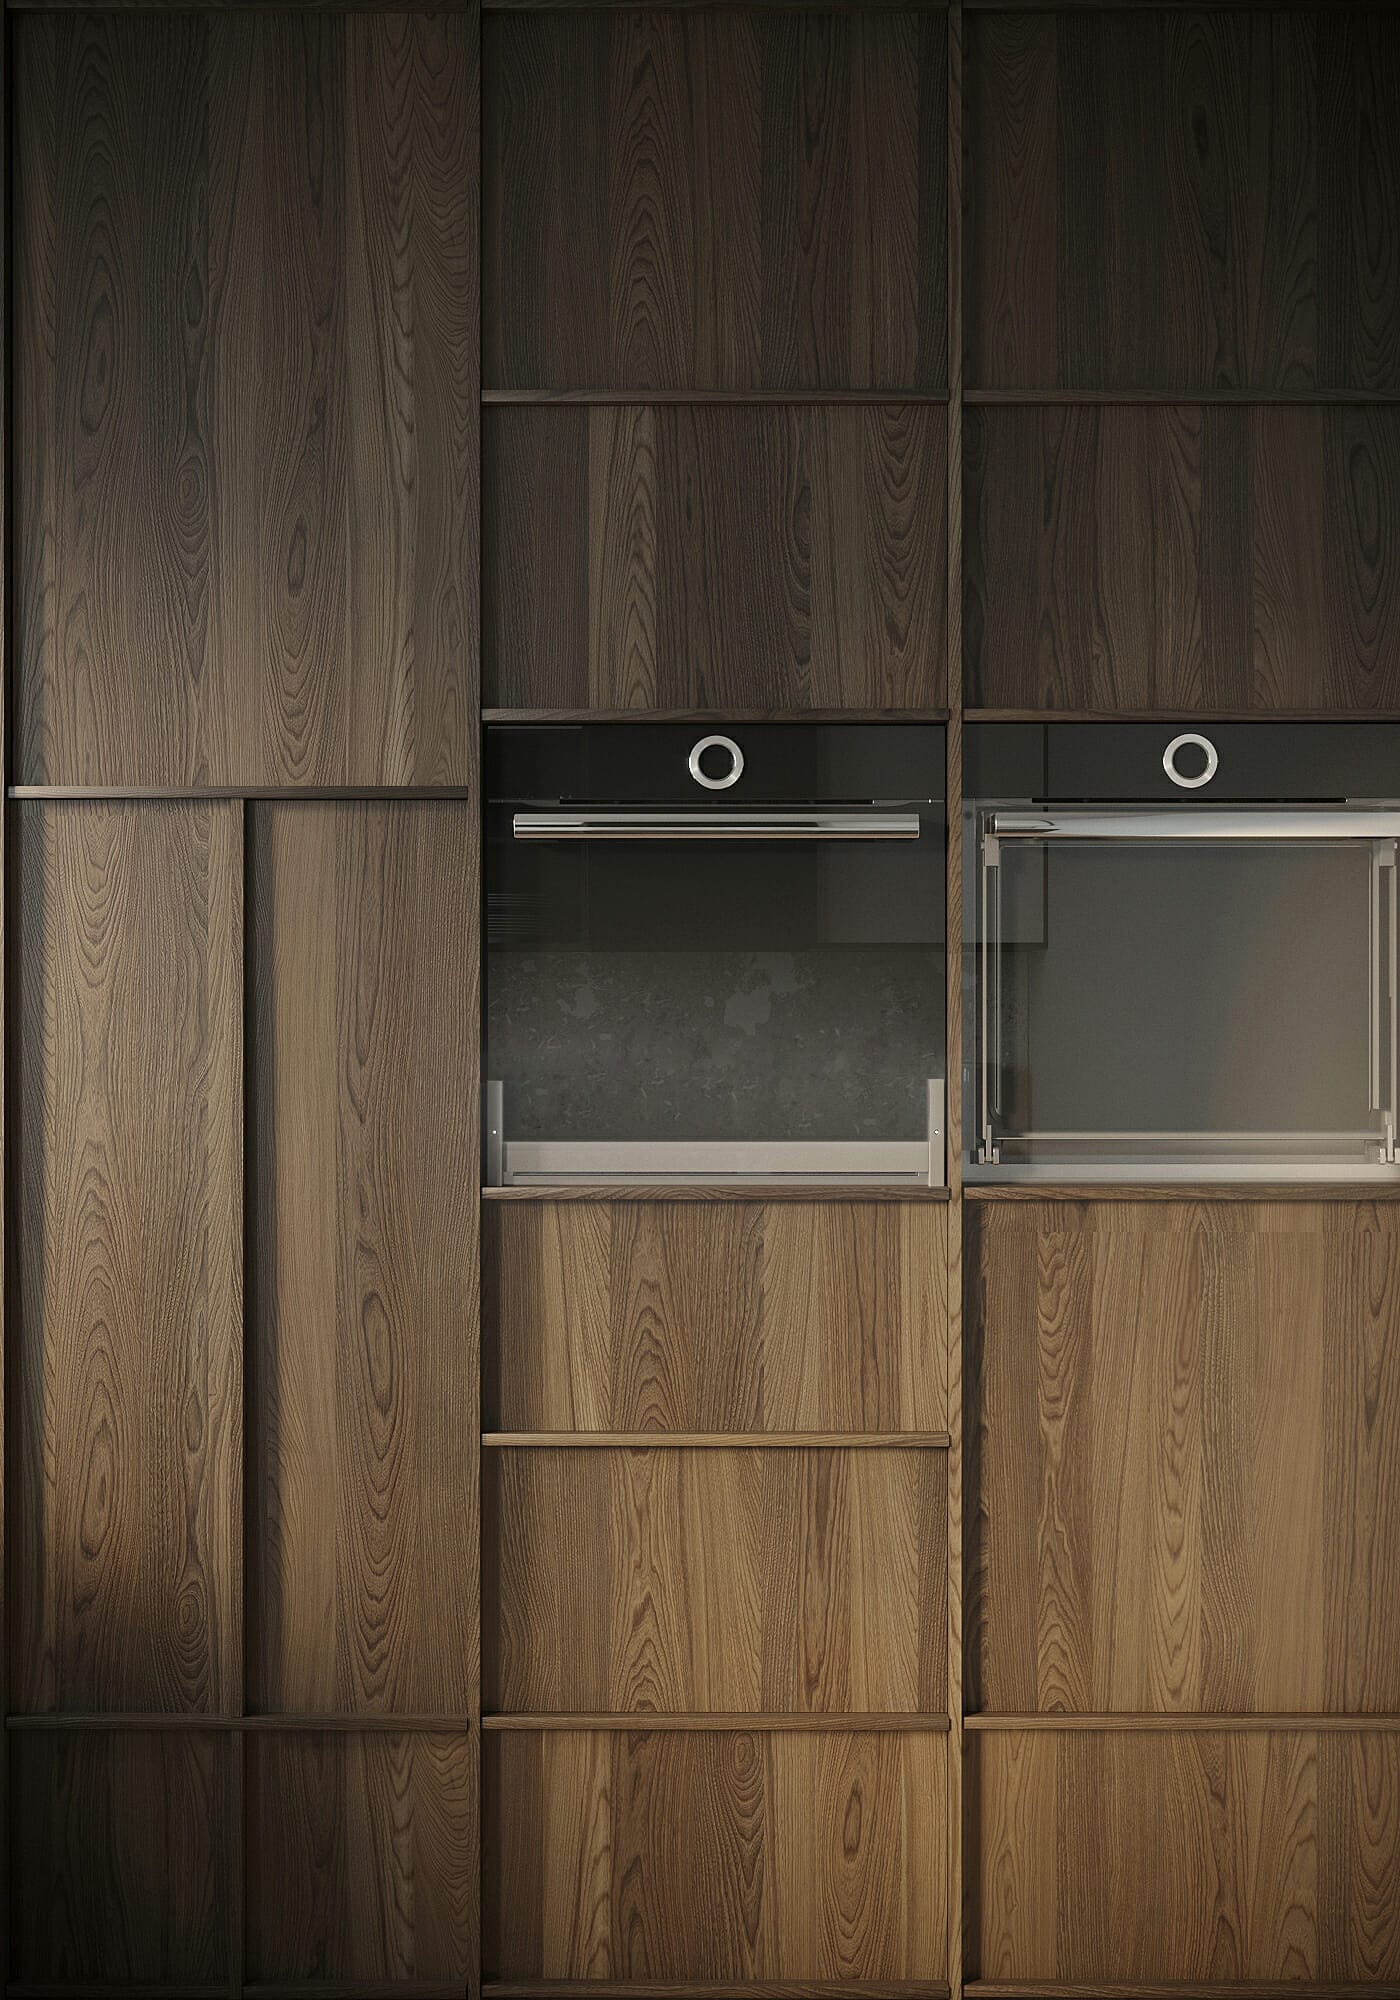
Kitchen area 2700 m2. with two windows. By the one window there is a dining table with one chair. There are a few potted plants on the table. Kitchen is equipped with modern appliances. There is a microwave, stove, oven. Along the wall there are cupboards with cups, plates and other kitchenware. Pots, frying pans and other small electric appliances are kept in the cupboards.The kitchen in a strict restrained style, in warm colors.
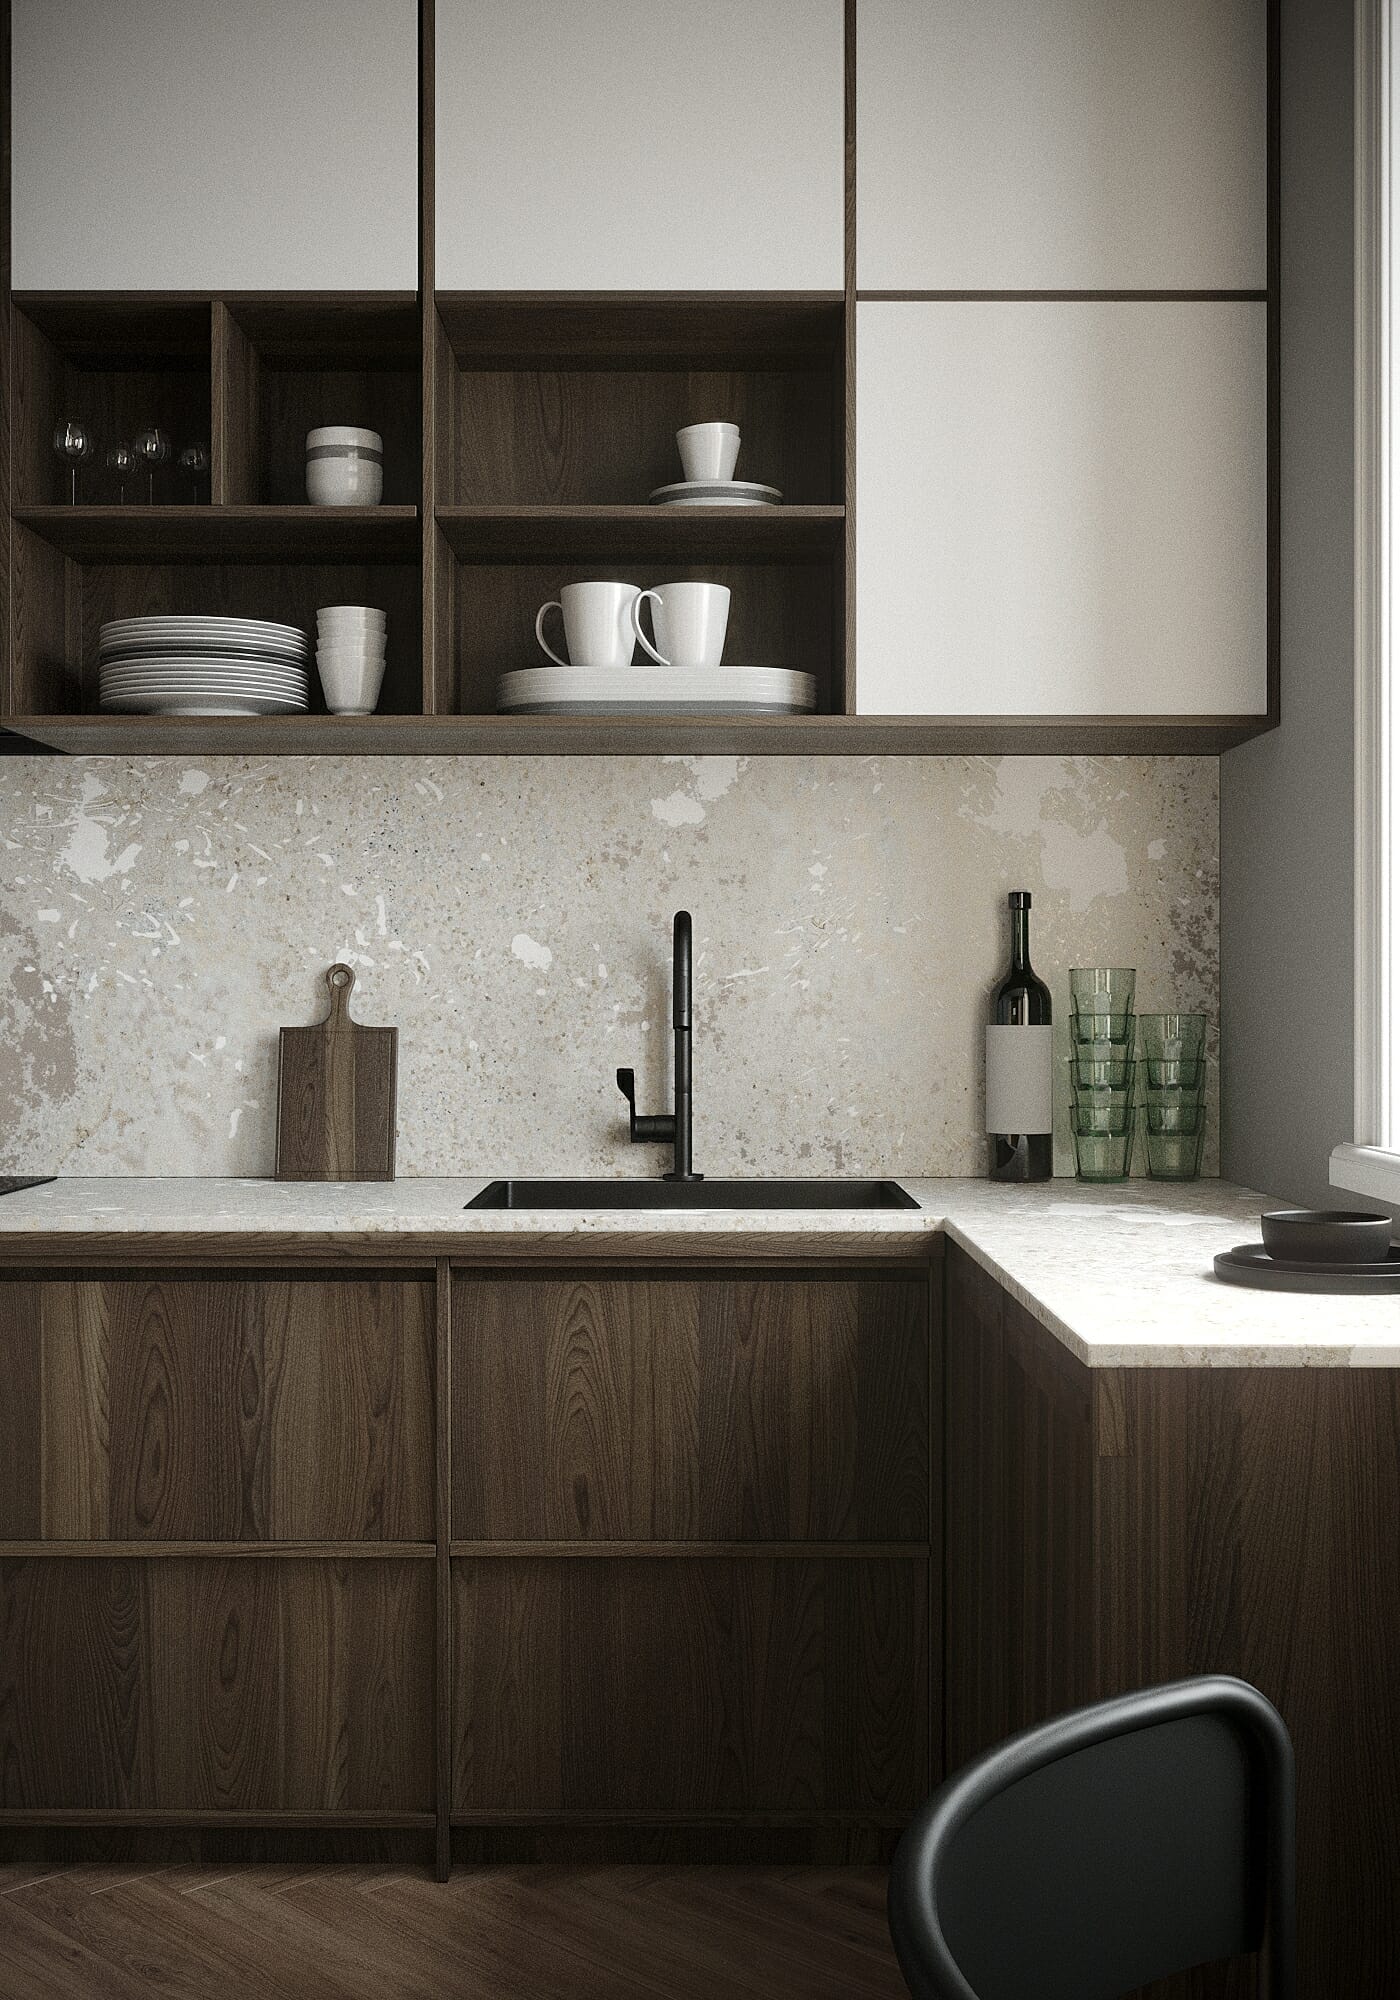
I had a lot of free time and desire. I have wanted to make a kitchen for a long time. I think that in this small room there should be minimalism, rigor, a lot of light to visually enlarge the room. Comfort, convenience and coziness come first.

We start with the basics.
Stage 1. What is a scene. How to create, open and save. Know the basic settings of the program.
Stage 2. Project structure. Create scene and all folders under the project.
Stage 3. We make setting of all functions.
Stage 4. Autosave.
Let's move on to modeling.
Stage 5. Primitives - the basis of modeling.
Stage 6. Creating walls.
Stage 7. Creating openings.
Stage 8. Creation of layers.
Stage 9. Modeling the floor.
Stage 10. Modeling the basics of a kitchen set.
Stage 11. Table top modeling.
Stage 12. Apron modeling.
Stage 13. Modeling kitchen facades.
Stage 14. Modeling kitchen sink.
Stage 15. Modeling shelves.
Stage 16. Modeling the table.
Stage 17 Chair modeling.
Stage 18. Quick access to modifiers. Set up a shortcut button.
Stage 19. Decor modeling.
Stage 20. Modeling a kitchen hood.
Stage 21. Modeling a chandelier.
Stage 22. Importing models.
Camera and angle.
Stage 23. Positioning cameras in scene.
Lighting setting.
Stage 24. Rewriting materials. Creation of light from the sky, the sun.
Material setting.
Stage 25. Material editor.
Stage 26. Color card.
Stage 27. Corona Converter.
Stage 28. Material of ordinary and colored glass.
Stage 29. Metal material.
Stage 30. Materials of ceramics and plastics.
Stage 31. Wood material.
Stage 32. Texture coordinates. Tree pattern setting.
Stage 33. Stone material.
Stage 34 Complicated ceramic material.
Step 35. Material for the cutting board and hob.
Stage 36. Parquet material.
Stage 37. Material fabrics.
Stage 38. Chamfers on objects.
Render and post-processing.
Stage 39. Setting up the final render.
Stage 40 Visualize.
People reacted very positively to this project, they said a lot of compliments. Motivates to continue to engage in visualization.